‹ Reincarnation Monster Clicker

Reincarnation Monster Clicker Guide
As of version 1.6.0

How the game works
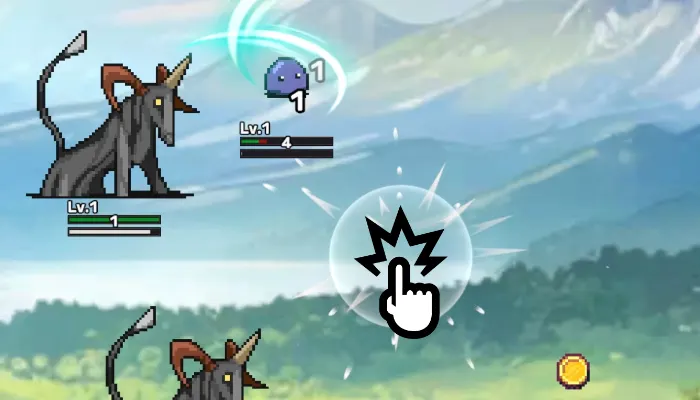
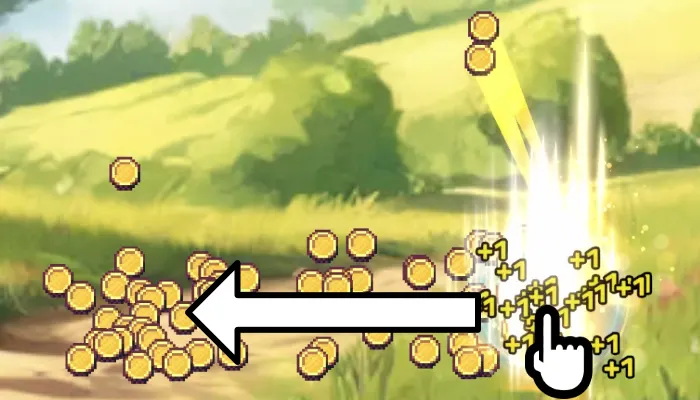
Tap the screen to defeat enemies, then spend the coins they drop on Enhance to push further. Swipe across the screen to collect the dropped coins. Once every enemy is defeated, you move on to the next stage.
There are 50 fields, and each field has 10 stages. The second 25 fields (stages 251–500) reuse the names of the first 25, but the monsters there have higher growth rates. After stage 500, you return to the first field, the Plains.
A boss appears every 10 stages. A boss has 5 times the HP of a normal enemy, and you have 30 seconds to beat it. The boss every 100 stages is a Strong Boss with 15 times normal HP, and the time limit is the same 30 seconds.
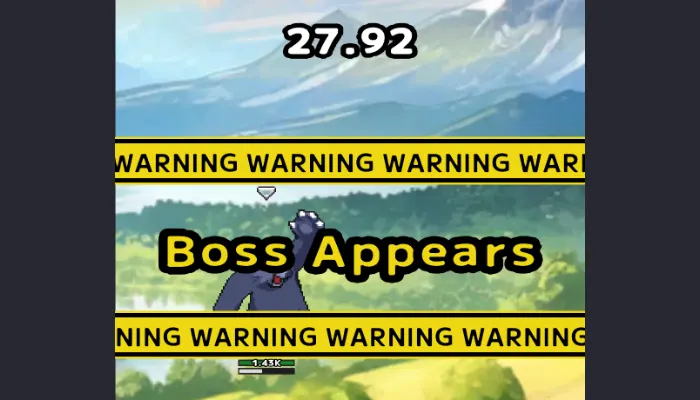
If you can't beat the boss in time, you go back to the first stage of that block of 10. For example, losing to the stage 30 boss sends you back to stage 21. Use that time to collect coins, enhance, and level up your monsters, then try again.
Even while the game is closed, you earn 1 coin per minute, up to 1,440 coins (24 hours' worth).
Reincarnation
You can reincarnate once you pass stage 100 (from stage 101). Reincarnating sends you back to stage 1, but in return you can spend diamonds in the Between Time to unlock new enhancements.
What you keep and what you lose
| You keep | You lose |
|---|---|
| Diamonds | Coins |
| Your ally monsters (including their growth rate bonuses) | Monster levels (back to Lv1) |
| Dictionary | Coin enhancements and skills |
| Artifacts | Stage (back to 1) |
| Enhancements unlocked in the Between Time |
Between Time
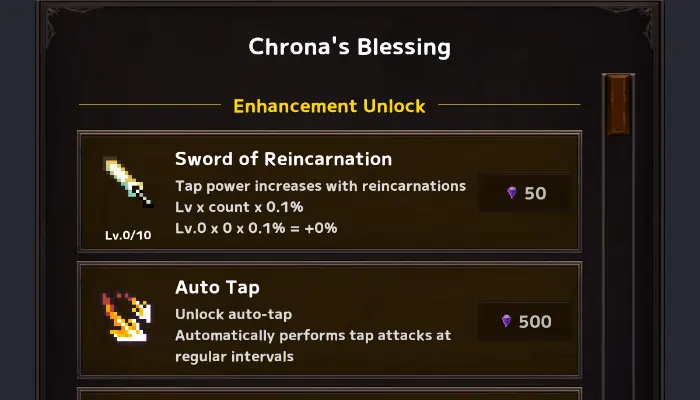
When you reincarnate, you are taken to the Between Time. On the Chrona's Blessing screen, offered by Chrona who lives there, you can spend diamonds to unlock the items below. Each unlock adds a new entry to your list of coin enhancements.
| Item | Diamonds | Max |
|---|---|---|
| Sword of Reincarnation | 50 (+10 per level) | Lv10 |
| Auto Tap | 500 | Once |
| Auto Tap Speed | 100 | Once |
| Auto Tap Duration | 100 | Once |
| Cooldown Reduction | 100 | Once |
In the Between Time you can also buy some artifacts with diamonds (see All artifacts).
Sword of Reincarnation multiplier
The Sword of Reincarnation raises your tap attack power more the more times you have reincarnated. The multiplier is:
Multiplier = 1 + Sword level × 0.001 × number of reincarnations
For example, with the sword at Lv10 and 10 reincarnations, you get 1 + 10 × 0.001 × 10 = 1.1× (+10%). With 50 reincarnations, it becomes 1.5× (+50%). Raising the sword to Lv10 costs 950 diamonds in total (50 + 60 + … + 140).
Auto Tap
Auto Tap performs tap attacks automatically at regular intervals. At first it taps every 2 seconds for 60 seconds, then waits 60 seconds. If you raise Auto Tap Speed, Auto Tap Duration, and Cooldown Reduction to Lv10 with coins, it taps every 0.1 seconds for 260 seconds, and the wait drops to 20 seconds.
Coin of Beginnings and Golden Key
If you own the artifact Coin of Beginnings, you get "the stage you reincarnated at × the number you own" coins right after reincarnating. Reincarnating at stage 300 with 10 of them gives you 3,000 coins.
If you own Golden Keys, you get as many treasure chests as you have keys after reincarnating, up to 10.
When to reincarnate
A good time to reincarnate is when you keep losing to a boss and can't move forward. The Sword of Reincarnation grows stronger in proportion to how many times you have reincarnated, and your monsters and artifacts stay with you.
Befriending monsters
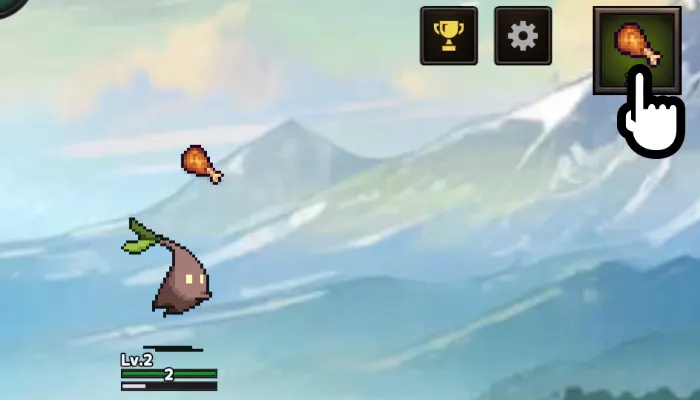
Press the meat button on the screen to throw meat at the enemy you are targeting. Each throw costs 1 diamond. Every piece of meat raises the chance that the enemy will join you, and the color of the heart above the enemy shows how friendly it has become. When you defeat an enemy that is friendly enough, it joins you at that chance.
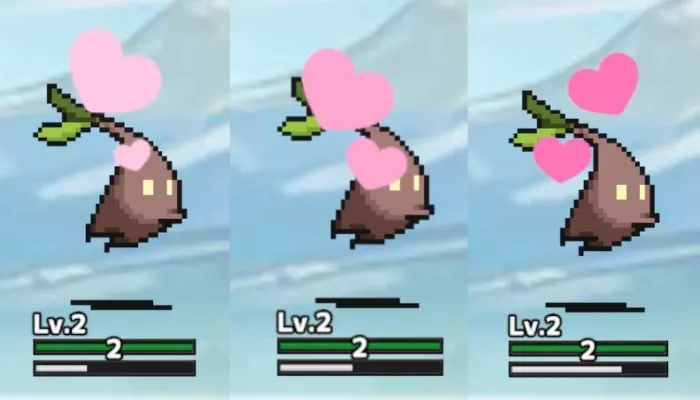
The stronger the monster (the higher its growth rate), the less each piece of meat raises the chance, so you need more meat. Before going after a strong monster such as a boss, save up plenty of diamonds. The Friend time boost makes monsters easier to befriend for 300 seconds.
Befriending the same monster again
If you befriend a monster you already have, that ally gets a power-up. Its growth rate gets a +0.01 bonus, and its level and skill level go up too. Its level rises to match the level of the enemy you defeated. The more times you befriend it, the stronger it grows.
Powering up with diamonds
On an ally monster's Details screen, the Growth Rate Up and Skill Up buttons let you spend diamonds to strengthen the monster you chose. Growth Rate Up adds +0.01 (1%) to the growth rate, and Skill Up adds +1 to the skill level. The Skill Up button only appears for monsters that have a skill.
The diamond cost depends on the monster. Growth Rate Up costs more the more times you have befriended that monster, and Skill Up costs more the higher its skill level.
Building your party
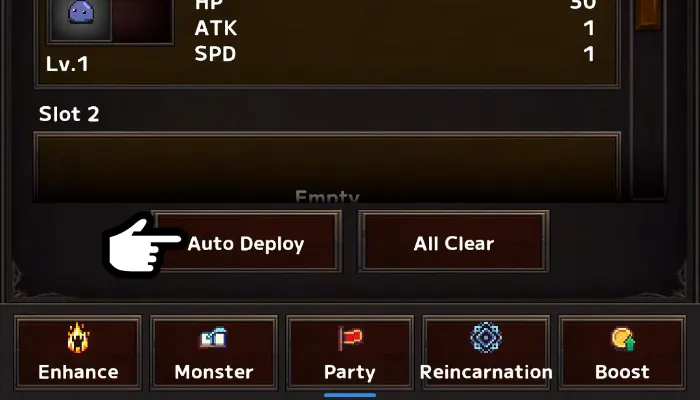
You can place up to 4 monsters in your party, and they fight enemies automatically. Tap a monster's icon to switch it between the front row and the back row.
Enemy attacks hit the front row 80% of the time and the back row 20% of the time. Put monsters with high HP in front and monsters with healing skills in back. The Auto Deploy button arranges them for you.
Support
Support becomes available from stage 31. Attaching a support monster to a party slot raises the stats of the party monster in that slot, and also lets you use the support monster's skill.
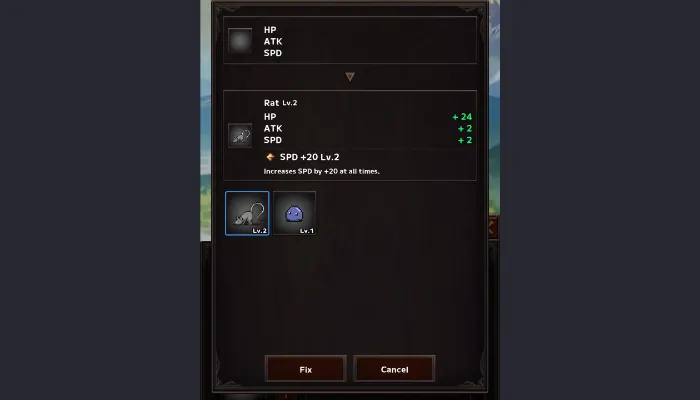
You start with 1 support slot and can expand to 5 with diamonds. Each new slot costs 10, 20, 30, and 40 diamonds.
Monsters with skills that help allies
| Skill | Effect | Monsters |
|---|---|---|
| Healing Grace | Heals an ally's HP | Korpokkur, Earth Spirit, Dark Korpokkur, Gaia Spirit |
| Life Grace | Heals an ally's HP | Elf, Dark Elf |
| Healing Breath | Heals all allies' HP | Earth Spirit King, Gaia Spirit King |
| Reviving Grace | Revives an ally | Guide, Dark Guide |
| Life Revival | Revives an ally | Angel, Dark Angel |
| Reviving Breath | Revives all allies | Phoenix, Dark Phoenix |
| Revival Breath | Revives all allies | Heavenly Angel, Valkyrie |
| Power Field | Raises all allies' attack | Sacred Dragon, Dark Sacred Dragon |
| Guard Field | Reduces damage taken by all allies | Griffon, Dark Griffon |
| Speed Field | Raises all allies' speed | Centaur, Dark Centaur |
Coin enhancement unlock order
At first, the only coin enhancement is Enhanced attack strength. As its level goes up, the items below become available. The price shown is for the first purchase, and it rises with each level.
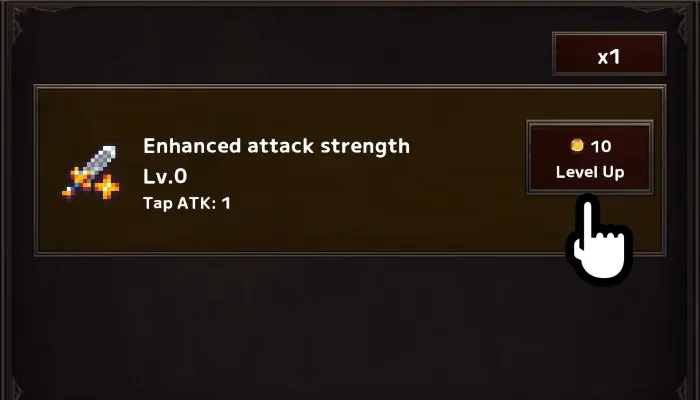
| Item | Unlocks at | First cost (coins) | Max |
|---|---|---|---|
| Enhanced attack strength | From the start | 10 | None |
| Critical Rate Enhancement | Enhanced attack strength Lv10 | 20 | Lv500 (+0.1% per level) |
| Critical Damage Enhancement | Enhanced attack strength Lv20 | 30 | Lv1000 (+0.1% per level) |
| Skill: Fire | Enhanced attack strength Lv20 | 100 | None |
| Skill: Ice | Enhanced attack strength Lv40 | 300 | None |
| Skill: Attack Buff | Enhanced attack strength Lv40 | 100,000 | Lv1 |
| Skill: Attack Debuff | Enhanced attack strength Lv40 | 100,000 | Lv1 |
| Skill: Damage Reduction | Enhanced attack strength Lv50 | 100,000 | Lv1 |
| Skill: Damage Increase | Enhanced attack strength Lv50 | 100,000 | Lv1 |
| Swipe Revival | Enhanced attack strength Lv50 | 500,000 | Lv1 |
| Skill: Thunder | Enhanced attack strength Lv60 | 600 | None |
| Skill: Speed Buff | Enhanced attack strength Lv60 | 100,000 | Lv1 |
| Skill: Speed Debuff | Enhanced attack strength Lv60 | 100,000 | Lv1 |
| Reincarnation Sword | Enhanced attack strength Lv65 (after unlocking it in the Between Time) | 200,000 | Lv1 |
| Auto Tap | Enhanced attack strength Lv75 (after unlocking it in the Between Time) | 500,000 | Lv1 |
| Auto Tap Speed, Auto Tap Duration, Cooldown Reduction | Auto Tap Lv1 (after unlocking them in the Between Time) | 300,000 | Lv10 |
| Reinforcement | Enhanced attack strength Lv100 | 1,000,000 | Lv1 |
| All-Out Charge | Reinforcement Lv1 | 10,000,000 | Lv1 |
Once you get Reinforcement, the 8 allies with the highest attack that are not in your party also join the attack.
All artifacts
Artifacts come from treasure chests. If you watch a video when opening a chest, the artifacts you get are tripled. Chest rarities are Common 70%, Uncommon 20%, Rare 8%, Epic 1.8%, and Legendary 0.2%. An artifact never drops before you reach its stage.
In the Between Time, you can buy artifacts up to Epic rarity with diamonds. The Legendary Golden Key cannot be bought.
| Name | Rarity | Effect per item | Diamonds | Drops from stage | Max |
|---|---|---|---|---|---|
| Vitality Gem | Common | Monster HP +5 | 10 | 1 | None |
| Power Gem | Common | Monster attack +1 | 10 | 1 | None |
| Speed Gem | Common | Monster speed +1 | 10 | 1 | 9999 |
| Merchant's Coin | Uncommon | Coin gain +1 | 25 | 20 | None |
| Power Ring | Uncommon | Player attack +1 | 25 | 50 | None |
| Hero's Necklace | Rare | Player attack +1% | 50 | 100 | 100 |
| Coin of Beginnings | Rare | Coins right after reincarnating + reincarnation stage × 1 | 50 | 100 | 100 |
| Training Cost Reduction Gem | Rare | Monster level-up cost −1% | 50 | 150 | 70 |
| Golden Ingot | Rare | Coin gain +1% | 50 | 200 | None |
| Critical Bracelet | Epic | Critical rate +1% | 100 | 250 | 50 |
| Flame Dagger | Epic | Critical damage +1% | 100 | 300 | 50 |
| Golden Key | Legendary | Treasure chests after reincarnating +1 | Not for sale | 100 | 10 |
How to get treasure chests
- Bosses every 10 stages drop a treasure chest 20% of the time. The Treasure Drop Boost doubles this chance for 300 seconds
- Strong Bosses every 100 stages always drop a treasure chest. The first time you defeat a Strong Boss, the chest always contains a Golden Key
- Day 7 of the Login Bonus includes 1 treasure chest
- If you own Golden Keys, you get as many treasure chests as you have keys after reincarnating
How to get diamonds
Diamonds are used for meat (befriending monsters), Between Time enhancements, buying artifacts, and support slots.
| Source | Diamonds |
|---|---|
| Login Bonus (7-day cycle) | 5, 5, 10, 10, 15, 15, 30 from day 1. Day 7 also includes a treasure chest |
| Bosses every 10 stages | 3–7 |
| Strong Bosses every 100 stages | 7–10 |
| Reaper (from stage 301) | 10–20 |
| Diamond bonus item | 5–10 |
| Treasure chest bonus item (watch an ad) | 10–20 if it contains diamonds |
| Press the meat button with 0 diamonds and watch a video | 10 |
Bonus items
While you play, a bonus item appears every 60–120 seconds. It contains coins, diamonds, or a treasure chest. The chest opens when you watch an ad and gives either 100–200 coins or 10–20 diamonds.
Reaper
After stage 300, the Reaper appears every 240–480 seconds on stages without a boss. Defeat it within 30 seconds to get 10–20 diamonds and 200–300 coins. You can't throw meat at the Reaper.
Boosts
A boost lasts 300 seconds after you watch a video. Diamond Rush doubles the diamonds you earn. The in-game hints also recommend using skills and boosts against the Strong Boss every 100 stages.
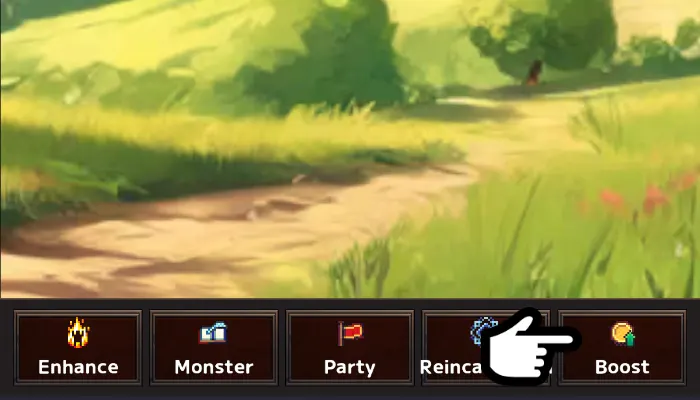
| Boost | Effect for 300 seconds |
|---|---|
| Offensive power buff | Tap attack ×2 |
| Gold rush | Coins earned ×2 |
| Diamond Rush | Diamonds earned ×2 |
| Monster HP Buff | Monster HP ×2 |
| Monster ATK Buff | Monster attack ×2 |
| Monster SPD Buff | Monster speed ×2 |
| Friend time | Monsters are easier to befriend |
| Treasure Drop Boost | Treasure chest drop chance ×2 |
All fields and bosses
The boss appears on the last stage of each field. The bosses at stages 100, 200, 300, 400, and 500 are Strong Bosses.
| Stages | Field | Boss |
|---|---|---|
| 1–10 | Plains |  Bear |
| 11–20 | Grasslands |  Skeleton Knight |
| 21–30 | Forest |  Naga |
| 31–40 | Forest Cave |  Earth Spirit King |
| 41–50 | River |  Serpent |
| 51–60 | Lake |  Octopus King |
| 61–70 | Wind Ruins | 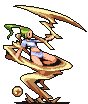 Wind Spirit King |
| 71–80 | Rocky Mountain | 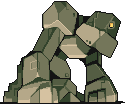 Golem |
| 81–90 | Volcano | 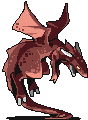 Red Dragon |
| 91–100 | Beach |  Pirates (Strong Boss) |
| 101–110 | Desert | 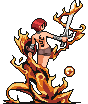 Fire Spirit King |
| 111–120 | Oasis |  Medusa |
| 121–130 | Ruins |  Griffon |
| 131–140 | Pyramid | 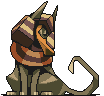 Sphinx |
| 141–150 | Abandoned Mine |  Centaur |
| 151–160 | Maze | 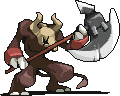 Minotaur |
| 161–170 | Cave |  Chimaera |
| 171–180 | Snowfield |  Seiren |
| 181–190 | Snowy Mountain |  Yeti |
| 191–200 | Ice Cave |  Water Spirit King (Strong Boss) |
| 201–210 | Wilderness | 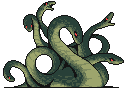 Orochi |
| 211–220 | Tower |  Phoenix |
| 221–230 | Library | 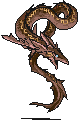 Leviathan |
| 231–240 | Heaven |  Heavenly Angel |
| 241–250 | Magic Circle | 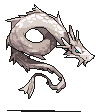 Sacred Dragon |
| 251–260 | Plains |  Dark Bear |
| 261–270 | Grasslands |  Dark Skeleton Knight |
| 271–280 | Forest |  Dark Naga |
| 281–290 | Forest Cave |  Gaia Spirit King |
| 291–300 | River |  Evil Serpent (Strong Boss) |
| 301–310 | Lake | 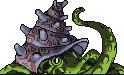 Dark Octopus King |
| 311–320 | Wind Ruins |  Storm Spirit King |
| 321–330 | Rocky Mountain | 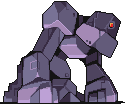 Dark Golem |
| 331–340 | Volcano | 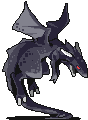 Black Dragon |
| 341–350 | Beach |  Captain |
| 351–360 | Desert | 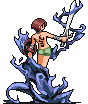 Blue Fire Spirit King |
| 361–370 | Oasis |  Dark Medusa |
| 371–380 | Ruins |  Dark Griffon |
| 381–390 | Pyramid | 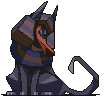 Dark Sphinx |
| 391–400 | Abandoned Mine | 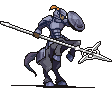 Dark Centaur (Strong Boss) |
| 401–410 | Maze | 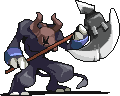 Dark Minotaur |
| 411–420 | Cave |  Dark Chimaera |
| 421–430 | Snowfield |  Dark Seiren |
| 431–440 | Snowy Mountain |  Dark Yeti |
| 441–450 | Ice Cave |  Sea Spirit King |
| 451–460 | Wilderness | 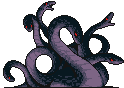 Dark Orochi |
| 461–470 | Tower | 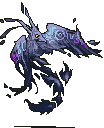 Dark Phoenix |
| 471–480 | Library | 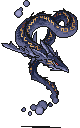 Dark Leviathan |
| 481–490 | Heaven |  Valkyrie |
| 491–500 | Magic Circle |  Dark Sacred Dragon (Strong Boss) |
FAQ
Can I fuse monsters?
There is no fusion in this game (no system for combining two monsters into a new one). You befriend monsters by throwing meat at them. Befriending a monster you already have makes it stronger (see Befriending monsters).
When can I reincarnate?
Once you pass stage 100 (from stage 101). A good time is when you can't beat a boss and stop making progress.
Do I lose my monsters or artifacts when I reincarnate?
No. Your monsters go back to Lv1 but stay as your allies. Your artifacts and diamonds stay too. You lose your coins and coin enhancements.
What happens if I lose to a boss?
You go back to the first stage of that block of 10. Collect coins, enhance, and level up your monsters, then try again.
I have 0 diamonds and can't throw meat
Press the meat button when you have 0 diamonds, and you can watch a video to get 10 diamonds.
When does the Reaper appear?
After stage 300, it appears every 240–480 seconds on stages without a boss.
Download